In the realm of electronics, the task of removing soldered components from circuit boards is as crucial as it is delicate. Whether you are repairing electronic devices, salvaging parts, or simply tinkering with your latest project, understanding the right technique is essential. This comprehensive guide will explain how to effectively remove those stubborn soldered pieces without causing damage to the precious circuit board or the components themselves. With an emphasis on using soldering irons, desoldering wicks, pumps, and braid, we’ll take you through the essential steps to success.
Understanding the Basics Before You Begin
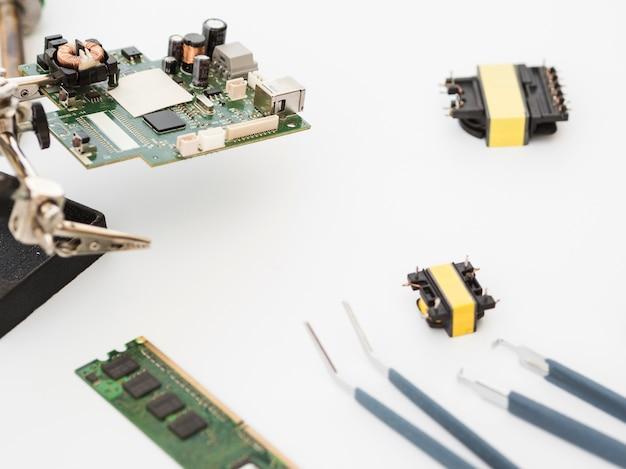
Before you start the desoldering process, it is important to familiarize yourself with the necessary tools and understand their purpose. Soldering irons are used to heat the solder, while iron tips come in various shapes and sizes to suit different components and joints. Desoldering wicks and braziers assist in absorbing molten solders, whereas desoldering pumps, also known as solder suckers, are designed for removing excess soldiering liquified. Since removing soldered electronic components can be a delicate process, choosing the right tools will make a tremendous difference in effectiveness and safety.
| Tool | Use | Additional notes |
|---|---|---|
| Soldering Iron | Heats the solder. | Choose one with adjustable temperature settings. |
| Desoldering Wick/Braid | Removes molten solder by capillary action. | Also known as desoldering braid. |
| Solder Sucker/Desoldering Pump | Physically removes molten solder. | Requires manual actuation. |
Knowing the purpose of each tool helps you understand which will be required for the task at hand. It’s also crucial to wear proper safety gear and ensure your workspace is well-ventilated to prevent inhaling any harmful fumes.
Preparing the Circuit Board for Component Removal
Having a clean and well-organized workspace is imperative for effective desoldering. You will need good lighting and a stable, flat surface. Organize your tools and components within easy reach but out of the way, so they don’t interfere with your workspace. Make sure there’s a place for your soldering iron to rest securely when not in use, to avoid any accidents or burns.
Assessing the Circuit Board
Before you start desoldering, inspect the circuit boards carefully. Identify the component you aim to remove and take note of how it’s positioned and connected to the board. Pay special attention to the orientation of polarized components as reinstalling them incorrectly can damage your board when powered. Documentation or taking pictures could serve as a handy reference when you replace or rework components.
Step-By-Step Instructions for Removing Soldered Components
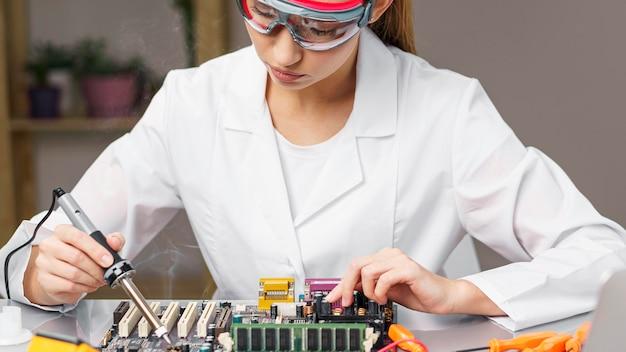
To start the desoldering process, you have to heat the solder until it melts. Set your soldering iron to the correct temperature—too high, and you might damage the board or components; too low, and the solders will not melt properly. When the iron heats, touch the solder joint gently and wait for the solder to liquify. This may take a few seconds, so patience is key. Do not apply excessive pressure as this could damage the board or component leads.
Step 2: Removing the Molten Solder
After heating, the molten solder needs to be removed quickly and effectively. Here, you can use a desoldering wick, which will absorb the solder when you press it against the joint and heat it with your iron. Alternatively, a desoldering pump can be used by placing its nozzle against the heated joint and triggering it to suck up the liquified solder.
- Place the desoldering wick over the joint.
- Apply heat and wait for the solder to wick up into the braid.
- Once the solder has been absorbed, cut away the used portion of the wick.
Step 3: Gently Detaching the Component
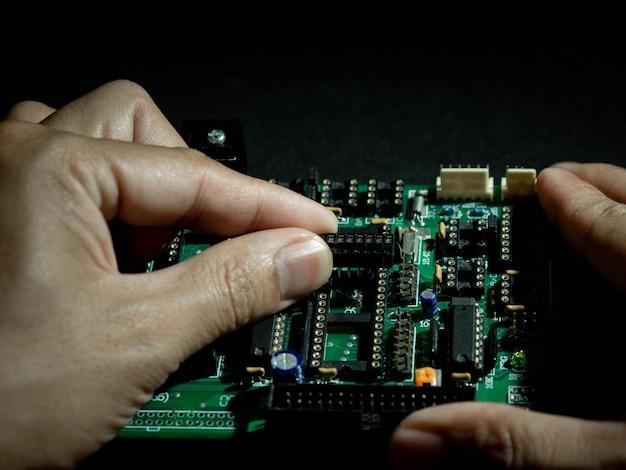
With the solder removed, you can now carefully detach the component from the circuit board. If the component has leads, gently rock them to free any remaining bonds. If the component does not come out easily, do not force it—reapply heat and maybe add a tiny amount of fresh solder to help release it. Remember, patience and a steady hand are your best tools at this stage.
Finishing Up
Once the component is removed, it’s time to tidy up. If there’s leftover flux or bits of solder on your circuit board, cleaning it with the appropriate solvent and a brush can prevent future corrosion or electrical shorts. For the best results and preservation of the board, this step should not be overlooked.
What to Do with the Removed Components
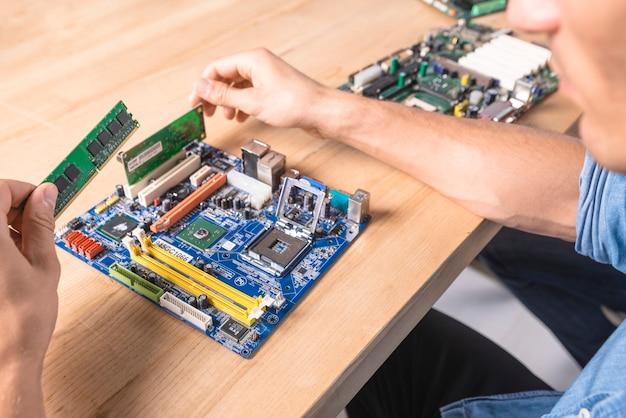
If the component you removed is still functional, it can be tested and reused. Otherwise, it should be properly disposed of or recycled according to your local regulations. Electronic waste must never be treated as general trash due to its potential environmental impact.
Conclusion
Desoldering components from circuit boards may seem daunting, but with the right tools and technique, you can remove components cleanly and efficiently. Whether you’re replacing defective parts or salvaging electronic components, understanding how to work with different solders and irons and the proper use of wicks and pumps ensures that the integrity of your boards and components are maintained. Always remember, safety should be your first consideration, and practice makes perfect when it comes to mastering the skill of desoldering.
FAQs
- What safety equipment should I wear when removing soldered components? Always wear safety glasses to protect your eyes from flying solder and components. It’s also smart to wear a mask to avoid inhaling any fumes, and gloves to protect your hands from hot solder.
- How can I prevent damage to the circuit board when desoldering? Using low heat and avoiding sustained application of the iron are fundamental. Be sure to use the right tools, such as a desoldering braid or pump, and proceed gently to prevent putting undue stress on the board.
- What is the difference between a solder sucker and a desoldering braid? A solder sucker is a tool that uses a vacuum to physically remove molten solder when its trigger is pressed, while desoldering braid is a copper braid that absorbs the molten solder through capillary action when heated.
- Can all components be safely removed and reused after desoldering? Many components can be carefully removed for reuse, but some may get damaged during the process due to their delicate nature or excessive heat. It’s important to assess each component individually.
- What if I can’t remove all the solder from a joint? If solder remains after your first attempt, consider adding fresh solder to the joint and then try again. The new solder can help old solder melt and be removed more easily with the desoldering braid or pump.